|
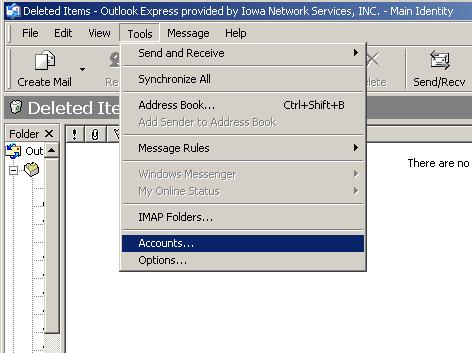
1. Open Outlook Express on your computer.
Choose the Tools menu and select Accounts.
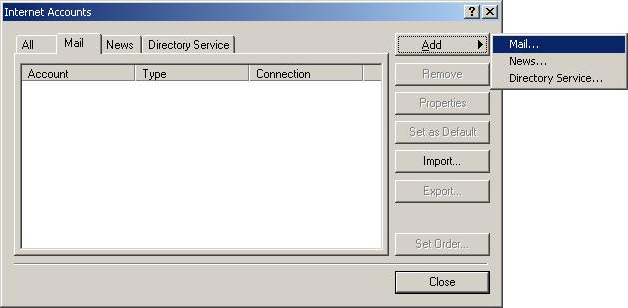
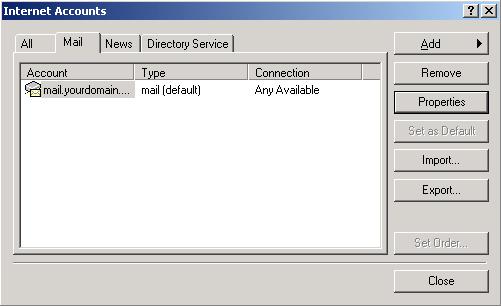
2. Click on the tab that says Mail.
Click the Add button and select Mail.
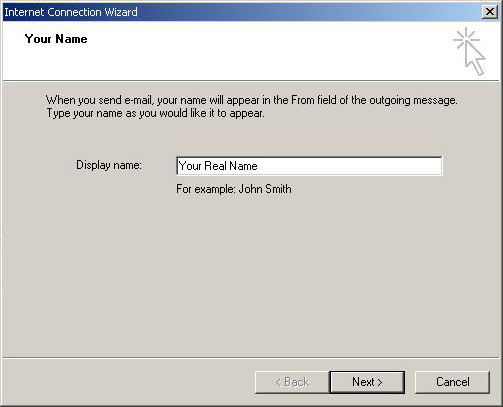
3. In the field that says Display Name,
enter your real name as you would like people to see it when they
receive mail from you. Click Next.
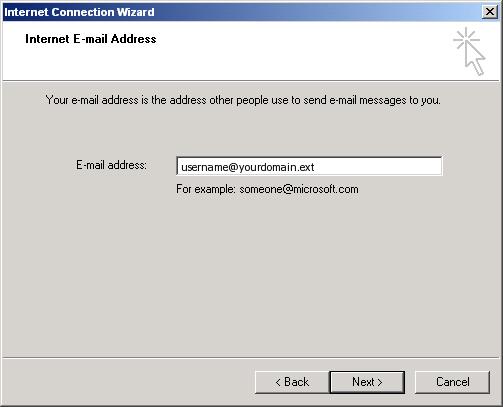
4. Enter your email address in the format of
username@yourdomain.ext, where username
is the username you created in the Admin Interface.
Click Next.
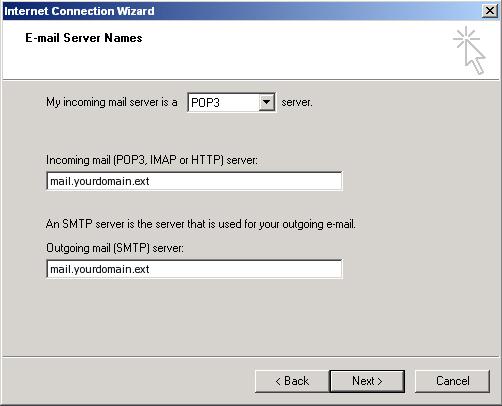
5. For Incoming Mail server, enter mail.yourdomain.ext.
For Outgoing Mail server, enter mail.yourdomain.ext.
Click Next.
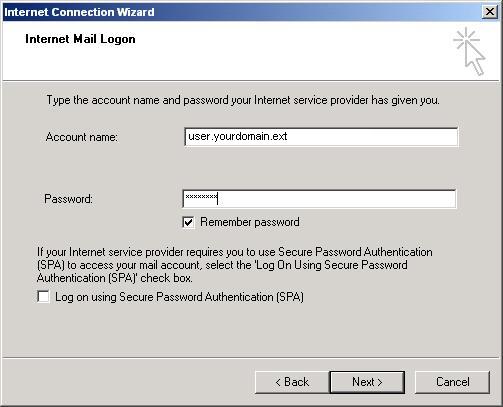
6. Enter the account name as username.yourdomain.ext,
where username is the username you created in
the Admin Interface. Enter the password that
was assigned in the Admin Interface. Click Next.
7. Click Finish.
8. Click Properties.
9. Click on the Servers tab. Place a
check in My server requires authentication. Click
Apply. Click OK. Click Close.

You are now ready to begin using your new mail account.
|
