|
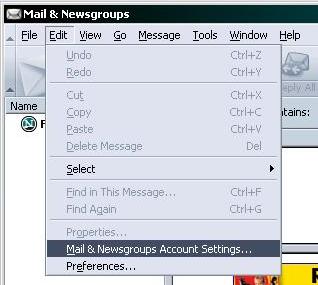
1. Open Netscape 7 and click the Mail
Icon. Click the Edit menu and choose Mail & Newsgroup
Account Settings.
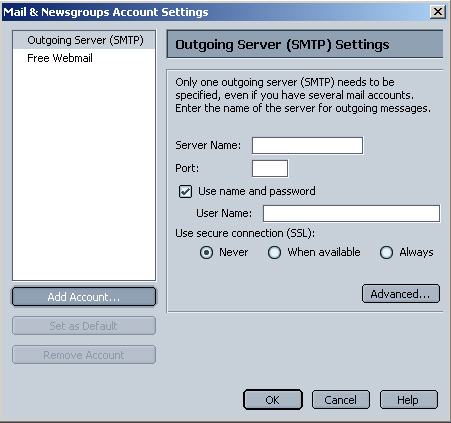
2. Click the Add Account button.
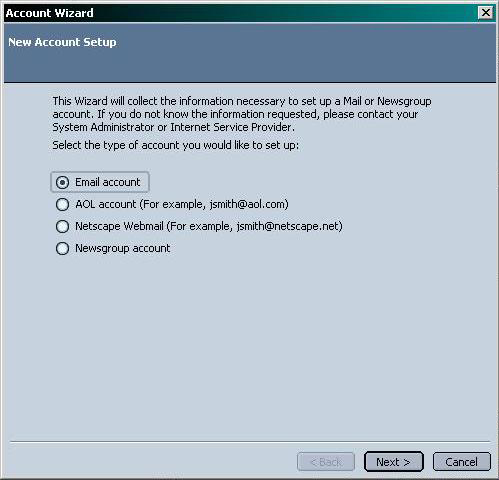
3. Make sure Email Account is
selected, then click Next.
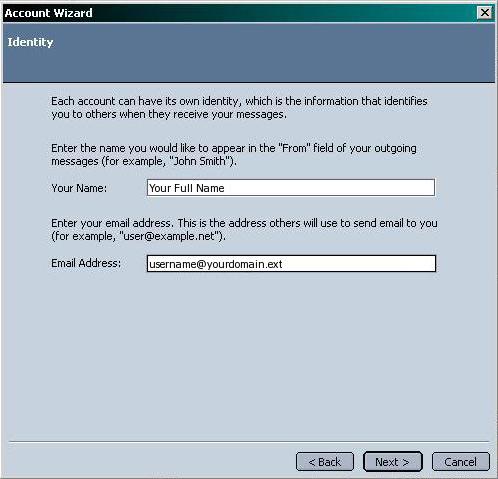
4. For Your Name, enter your name as you would
like it to be seen by people receiving email from you.
For Email Address, enter your email address in
the format of username@yourdomain.ext, where
username is the username you created in the Admin
Interface. Click Next.
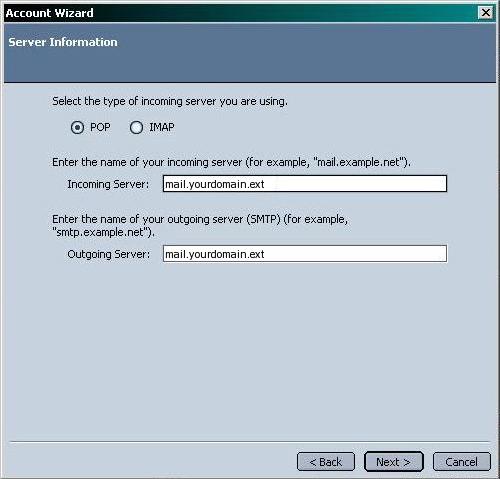
5. Make sure that Incoming server type
is set to POP. For Incoming Server, enter mail.yourdomain.ext.
For Outgoing server, enter mail.yourdomain.ext.
Click Next.
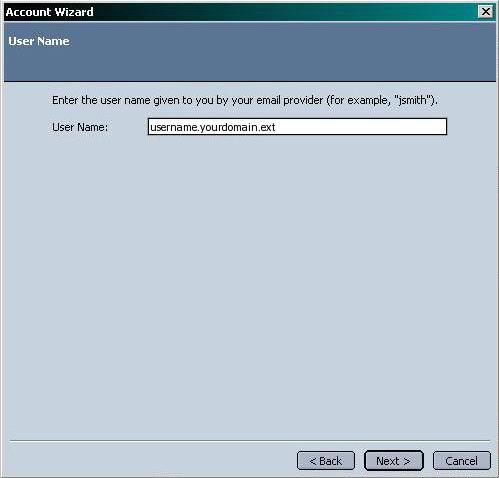
6. Enter Username as username.yourdomain.ext,
where username is the username you created in
the Admin Interface. Click Next.
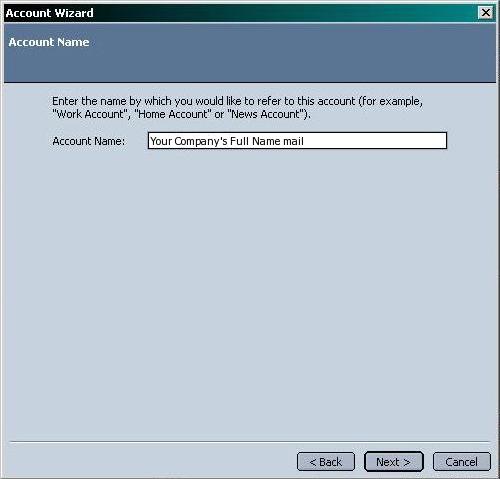
7. Enter Account name as something
to help you remember which account this represents, we suggest entering
your email address or My Account. Click Next.
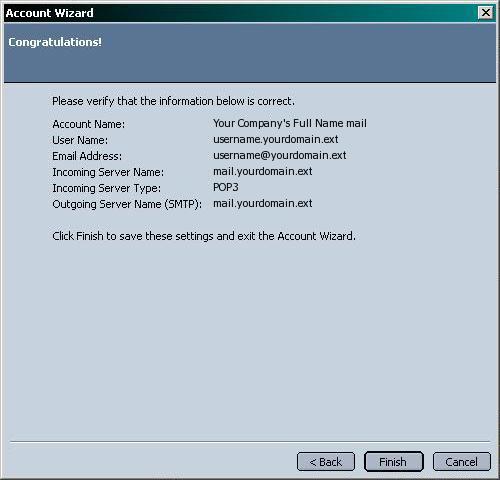
8. Review the information entered. In the
example, the outgoing server is blank; you should have your ISPs
outgoing mail server here. Click Finish.
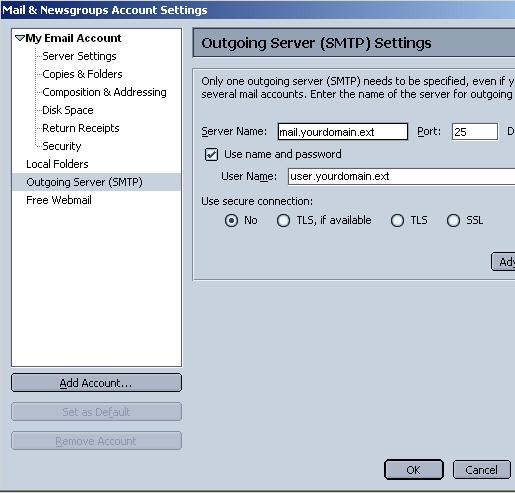
9. In the Account Settings window, click Outgoing
Server (SMTP). Place a check in Use name and
password. In User Name, enter username.yourdomain.ext.
Click OK.
You are now ready to begin using your new mail
account.
|
